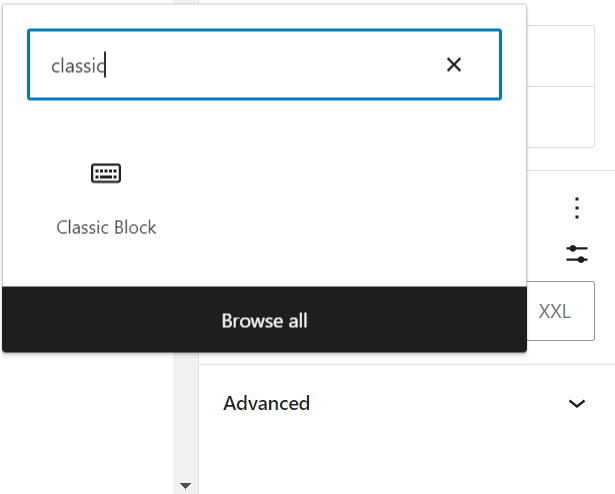
Gutenberg currently only has an audio block for inserting single audio files into your WordPress blog, and not an audio playlist option.
Easiest way round this I have found is to just add a new ‘Classic’ block using Gutenberg, and then create your audio playlist in the normal ‘classic’ way. It may not be the best looking playlist but it works very well and remember if you add a featured image to your audio file it will show up in the top of the playlist when selected.
Also, if using the audio block in Gutenberg to add multiple audio players on one page, then annoyingly starting one player does not stop an existing player. So if adding a few audio players on a page I find it better to use an html block and add audio in the old way, with the shortcode:
[audio src="https://www....mp3"]
However, what this lacks over the Gutenberg audio block is a download option. To fix this, you can add a Gutenberg file block and link it to the same audio by selecting it from your media library. (you can also upload a new file)
This will create a title and download button, but you can delete or edit the title if preferred, like I have here and place it under your audio player.
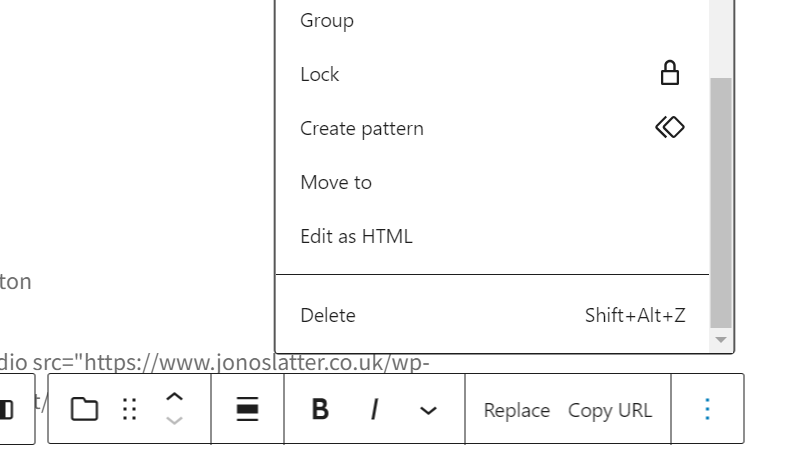
TIP! If you want to edit the file in the download button later, click the three dots in the block options and chose: ‘Edit as HTML’.
This can affect rendering tracks to stems as well as bouncing out or rendering your project.
With the default render setting of full speed offline, Reaper tries to render at the fastest possible speed. This can cause problems with instruments with long release tails (e.g. strings). It’s easy to change this in the main render dialogue – just change it to 1x offline and all should be fine.
If you want to render tracks to stems, it’s more tricky as there is no dialogue to change the render process. But you can do it with an action:
You’ll need the SWS extensions installed. Go to the action list and search for: ‘Toggle render speed (apply FX/render stems) realitime / not limited.‘ I created a shortcut so I can toggle the render speed easily. If unlimited render causes glitches toggle to realtime.
Render tracks to stems obeying time selection…
While we are rendering stems – which can be done by right clicking the track and looking for the render/freeze options. There is another SWS action that will render tracks to stems BUT obeying time selection – rather than whole project. Just search for Render tracks to stereo stem tracks, obeying time selection. Create a shortcut for that one too if you render stems often.
You can never have enough sound effects…And even though you can hunt around and buy sounds individually as and when needed, it can bereally handy to have a wide selection of sound effects ready and available in your library as indexed wav files instantly searchable on your drives.
Right now all Professional Sound Effects albums at YoPo Music have 75% off!And all proceeds go to the UK Charity Pennypaws Rescue which rescues dogs left to die in Romanian Kill Shelters. Dogs like Finn below is one of the lucky ones, rescued by Pennypaws and now living life to the full in a loving home in the UK. Thank you so much for reading.
Setting up the Korg Nano Control 2 with the Reaper DAW. The Nano Control 2 is an excellent USB controller to use with Reaper DAW. Download the Korg Editor software here: https://www.korg.com/us/support/download/software/0/159/1354/
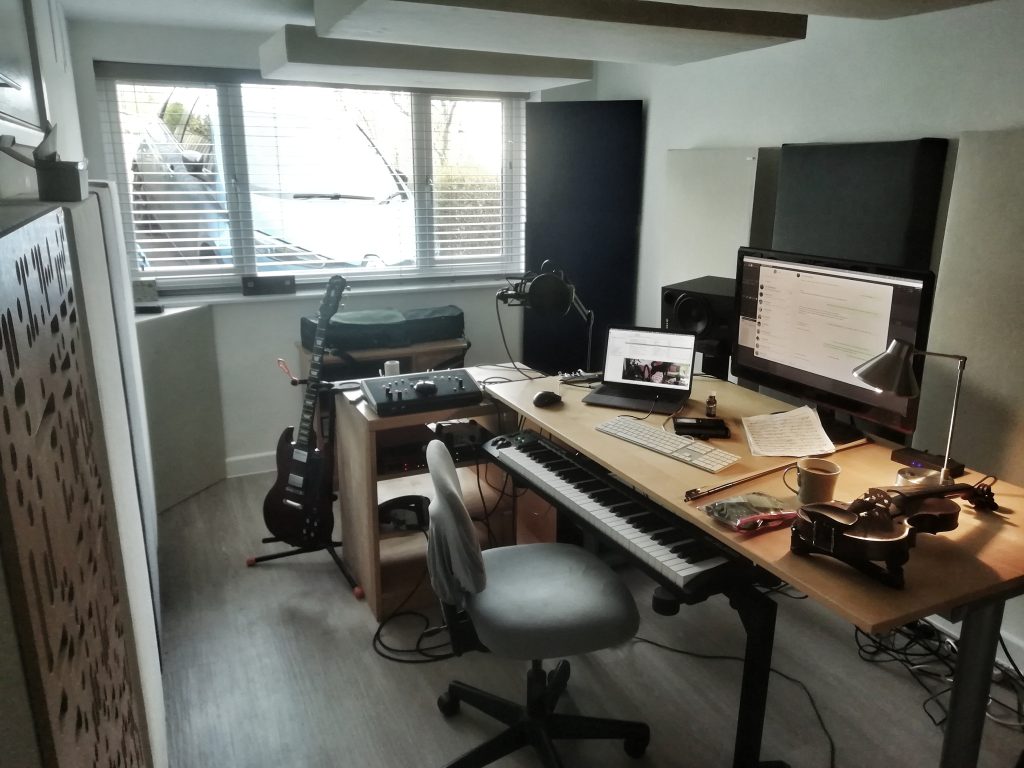
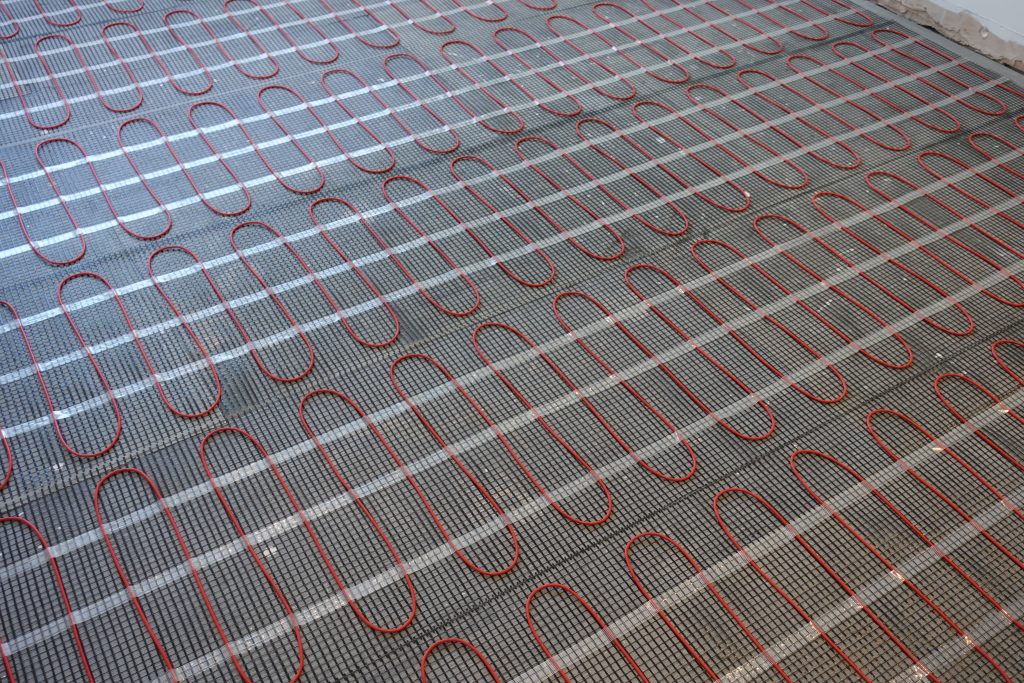
After 22 years of working in a recording studio control room with no light, I have finally opened the room up to natural light with a large 2 metre wide window with studio glass plus underfloor electric heating installed by Woodstow Build and Design. Whilst it might seem desirable from an acoustic point of view to have no window, the downsides of working without natural light and air are manifest – light and oxygen provide energy and being able to see the outside world going by makes you feel connected. Especially if you’ve been in a bunker for a couple of decades!
The acoustic treatment of the room was designed by GIK Acoustics. They offer a very good service where you can send in the dimensions of your space and they will recommend acoustic traps and placement. Highly recommended. Take a look here. The room has a nice acoustic feel for doing vocals and acoustic instruments like violins and guitar – but for voiceovers I still use the dedicated voice booth and Neumann U87.
Finished New Control Room at Jono Slatter Voiceovers
When you import a video file into Reaper with audio on it – it comes in as one file / one item. So if you try and edit the audio – you’ll be editing the video too. This is the quickest way I have found to work with the audio on a video in Reaper.
Import video file into Reaper
Duplicate the track – label the top one video only and the duplicate Audio
Mute the Audio track
Select the video track, ‘View’ the video (Shift Cmd V) and right click on the footage – choose video properties
Select Ignore Audio and OK
Move the payhead and the video track will lose it’s waveform. Minimise the video track
If you want to you could hit the route button on the video track and uncheck the master parent send
Unmute the audio track. We still have video on this track so to get rid of it select the item – right click and choose Glue
That will convert that item to a WAV file and so Audio Only